Ingredients
Equipment
Method
Instructions
- Start with a sturdy skillet or a big saucepan—something deep enough to hold all your fillings. Let the butter melt down until it has just a whisper of brown on the edges, then toss in garlic and onion. You’ll know you’re on the right track the second your kitchen starts to smell like the promise of dinner: savory, a little sweet, with those golden onion bits catching the light.
- Now, in goes the celery and carrot. They’ll soften and pick up all that butter and onion flavor. Let everything get just a little tender but not mushy—you want the vegetables to keep a bit of their body. Next, add in the shredded chicken, peas straight from the freezer, and pour over a warm bath of chicken broth. Sprinkle in salt, pepper, and give it a stir; the thyme comes last so its aroma rises with the steam. Let it all bubble gently, just until everyone’s swimming together and everything feels harmonious and thickened.
- When the mixture starts to look creamy but still scoopable, add in the heavy cream. Fold it in gently, let it heat through without boiling—this is where it starts to feel indulgent. Sprinkle in the shredded cheese and watch it melt, stringy and deep yellow, promising every bite will be gooey and luscious. Your filling should be creamy but not soupy, holding together but not clumpy, and speckled with every color of the vegetable patch.
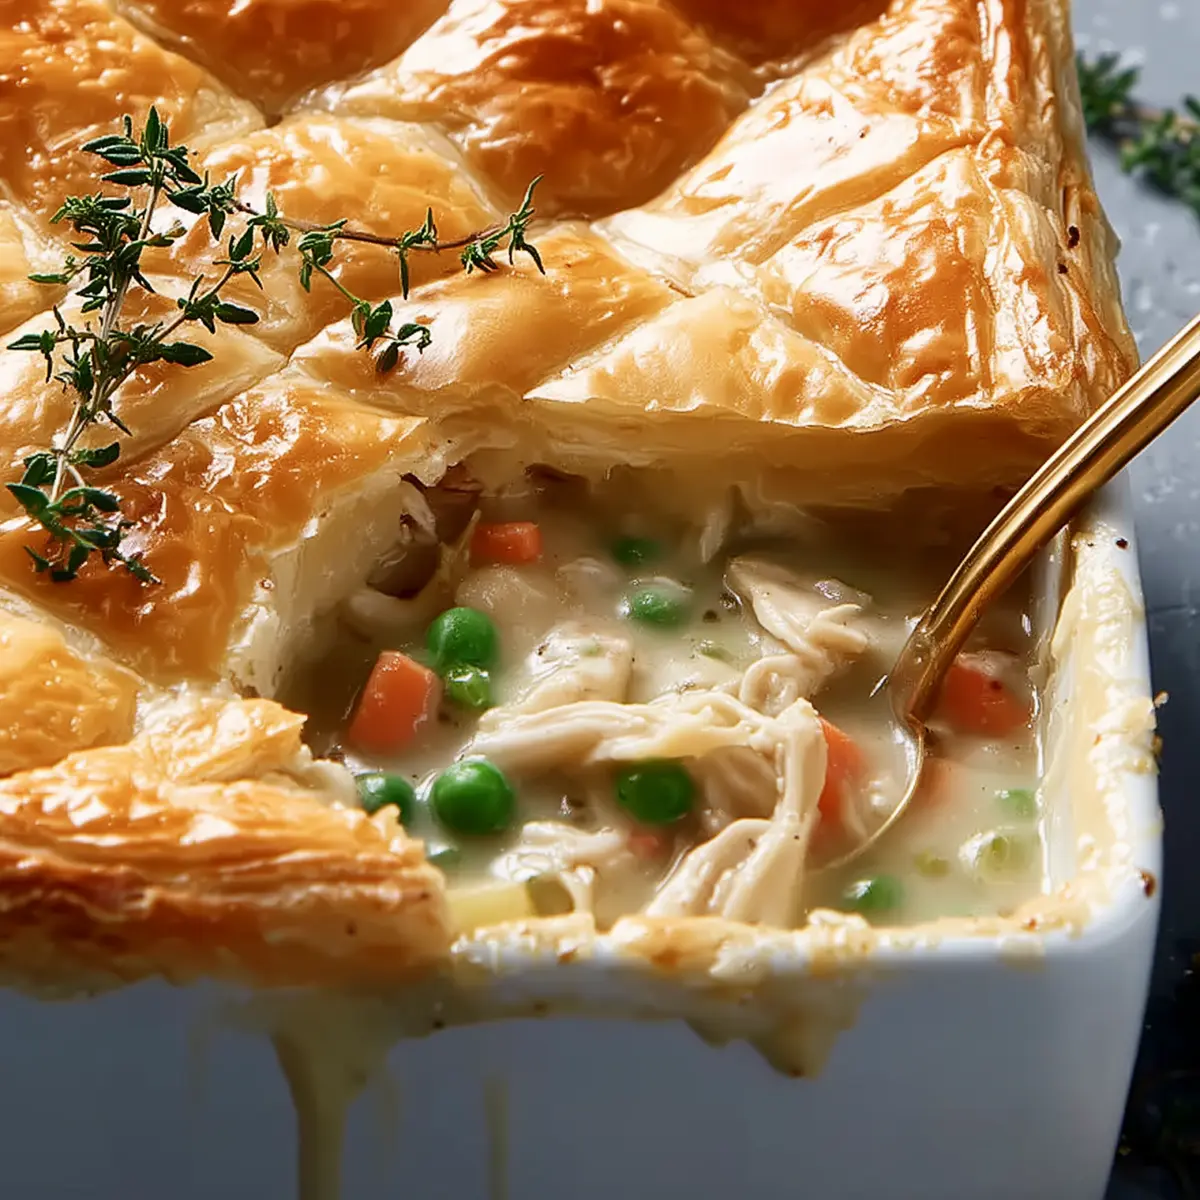
- Transfer the filling into a dish that has just enough room for all its goodness—no more, no less. Unroll your refrigerated pie crust over the top, draping those edges right to the rim. If you’re feeling fancy, cut a few small vents into the top with the tip of a knife so steam escapes and the pastry puffs just enough. Brush the crust with beaten egg so it bakes up burnished, more golden than you thought possible.
- When it hits the oven, your kitchen is about to get very, very inviting. The best sign it’s ready? The filling will bubble around the sides, sneaking up at the edges of the crust, and the top will have taken on a shine you can see even before you bite in. Sometimes, you’ll hear that first crack of the spoon against pastry—a sound that lets you know you got it right. Let it cool for just a few minutes before diving in; that’s the moment the sauce thickens perfectly and the aroma fills every corner.